Performance
Digest-Based Caching
Expiring caches is hard. What if you could just ignore antiquated data? Enter key-based cache expiration.
- The cache is append-only. What this means is that we never change the values stored in the cache, but instead create new key/value pairs.
- The key is calculated based on the object being cached. When the object changes, the key changes. The old key/value pair is irrelevant.
- Will you run out of memory? Ideal key/value stores for this technique automatically evict older entries when memory is needed.
- You can nest objects, and that ties their keys (and therefore, their values) together.Caching a post and its comments, then when a new comment is the post’s cache gets invalidated (or rather creates a different key, making the old data irrelevant).
Tooling Setup
In other performance tutorials we’ve used Redis. But Redis does not auto-expire keys. When its memory fills up new writes will start failing.
Instead let’s use memcache.
The Sample Project
Get the Blogger project from GitHub and run setup procedures:
1 2 3 4 5 | |
All existing tests should pass. Optionally, run the tests continuously while developing by running guard
We need a lot of sample data. Open up db/seeds.rb and increase the number of objects generated:
1 2 3 | |
Then, re-build the database and start the server:
Terminal
$ $ | |
Installing Memcache
If you’re on OS X with Homebrew it’s easy:
Terminal
$
| |
After installation, you’ll want to start Memcache:
Terminal
$ $ | |
Installing Dalli
Dalli is the preferred Ruby client for interacting with Memcached. Add it to your application’s Gemfile:
1
| |
Then bundle.
Configuring Rails to Use Dalli
Presuming that you’re experimenting in development, open config/environments/development.rb and add this line:
1 2 | |
Make sure that if you already had cache_store configured from another tutorial that this line replaces it.
Verifying It All
With those change in place, fire up a Rails console and try it out:
IRB
|
Want some proof from memcached itself? There isn’t a great console/interface built in. But you can use telnet to verify that the key is there:
Terminal
$ | |
Note that the > above don’t actually appear, they’re just used here to point out the commands entered.
Getting Started with Cache Digests
We’ll use the cache_digests library to generate cache keys based on input data.
Checking Out All Articles
Let’s try it with the ‘all articles’ page first. Start up your
server and hit http://localhost:3000/articles in your browser.
1 2 | |
Brutal! We have to load a thousand articles, a hundred tags, and count all the comments… mega slow.
How Cache Digest Works
The cache_digests library uses MD5 hashing to generate cache keys. If any bit of the input to the the hash operation changes, then the hash output will change. Since that hash result changes the cache key being searched for changes. The old value will be cleaned up by memcached when memory is needed.
cache_digests can hash both the templates and the data, so if you change either then a new cache key is generated.
Adding cache_digests to a Rails App
In Rails 4, there’s nothing to do. It’s built in.
If you’re using Rails 3, add the cache_digests gem to the Gemfile, then bundle.
Add Caching to the View Template
We need to mark segments of the view template for caching. Modify
app/views/articles/index.html.erb to use a cache block when it renders each article:
1 2 3 4 5 6 7 8 9 | |
Now, each article block will have a cache based on the Article instance. If we
modify an article, only that article’s digest (and thus key) will change.
Results from the Browser
Open up your browser, hit http://localhost:3000/articles, then look at the server log. You’ll see something like this:
1 2 | |
Then refresh the page and return to the log for results like this:
1 2 | |
Before the final output, you should have seen a bunch of these:
1 2 3 4 | |
Comment Problems
On that index page each article displays the number of comments.
- Open one of the articles in a separate tab
- Notice the number of comments on the index
- Add a comment using the other tab
- Reload the index and the comments count didn’t change
Why? The cache fragments are based on the article. We added a comment record to the database, but we didn’t change the article itself.
Touching Objects
We can have new comments affect the updated_at timestamp of the parent article. In comment.rb add :touch :
1 2 3 | |
Go add another comment in the article show tab, refresh the article index, and you should see the correct comment count. The generated key changed because the article updated_at changed.
One Sad User, Most Are Happy
We still have that bad first page load. But when we change an article or add a comment, just one digest key will change. The rest of the article digests will remain the same so their existing cached fragments will be used.
Caching a Single Article
Starting with the show Template
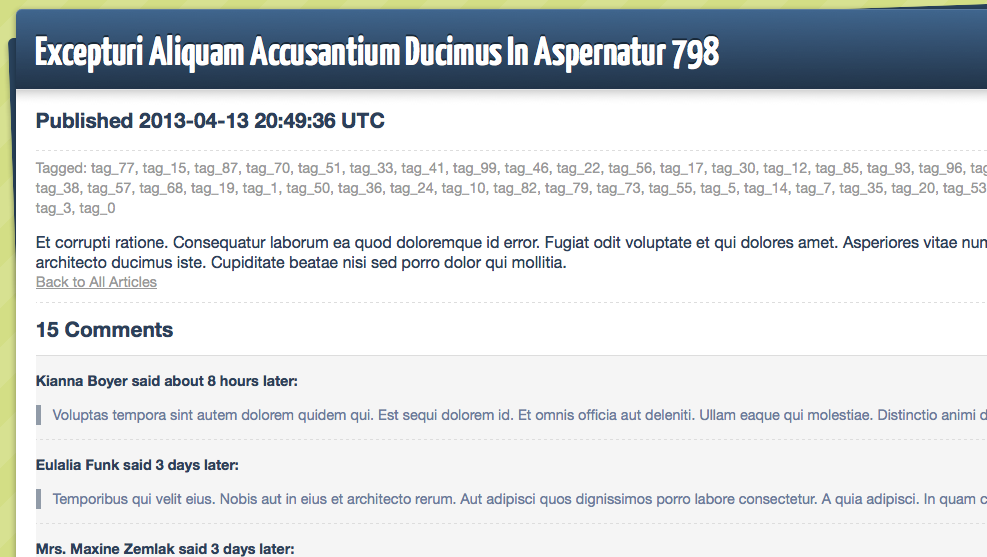
Let’s try the technique on the show page for an Article. Find an article with
a lot of comments, or just add a bunch of comments to one in the console. For this example we’ll work with the article with ID #799,
so I opened up http://localhost:3000/articles/799 in my browser. It has 15
comments:
1 2 | |
392ms isn’t horrible, but it’s not ok. Let’s examine the
app/views/articles/show.html.erb:
1 2 3 4 5 6 7 8 9 10 11 12 13 14 15 16 17 18 19 20 21 22 23 24 25 26 27 28 29 30 31 32 33 34 35 36 37 38 | |
Adding Caching
We need to tell Rails two things:
- Cache all of this based on the
Article - Cache the nested child comments individually
First wrap a cache call around the whole template:
1 2 3 4 5 6 7 8 | |
Refresh the page twice to make sure the cache gets loaded up.
1 2 3 | |
Add a Comment
Nice. Let’s try adding a comment by using a form at the bottom. Fill it out…
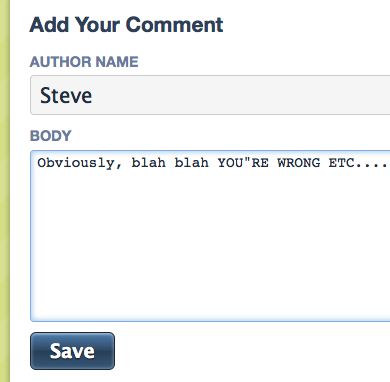
and hit submit…
1 2 3 4 5 6 7 | |
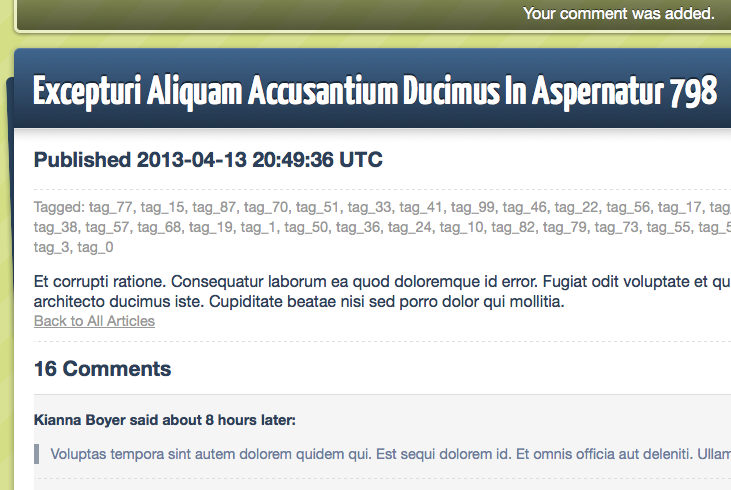
See that ‘Read fragment’ and ‘write fragment’? Because of our :touch,
when the comment was created, it updated the timestamp on the article. The updated article generated a different digest key than the old one, so the cache load missed. Rails ran the template itself and cached the results for later use.
Nested Cache Elements
Thinking About updated_at
There’s one problem with this technique, though. Adding the comment touched the parent article, which meant changing the updated_at. The view template was outputting that updated_at to represent when the content of the article itself was updated, which didn’t really happen. You might not care this time, but for some applications, this isn’t
great.
There’s another way. We can nest the cache blocks within the template, then :touch isn’t needed down in the models.
Remove all the touch bits from the models. Return to the article in the browser and add another comment:
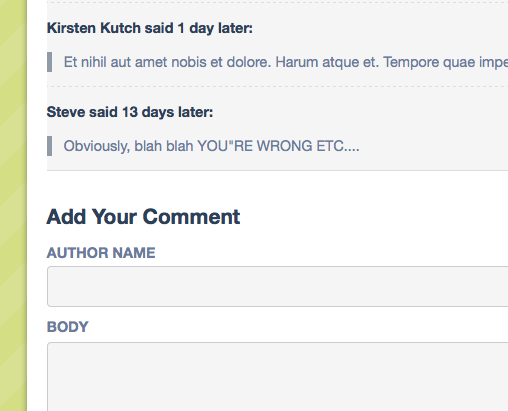
Oh no! It still says 16 total comments, and this troll-y comment I left before is the ‘newest’ one. But I added another! Where’d it go?
Well, because our updated_at wasn’t modified for @article, the digest generated the same old cache key.
Listing Cache Dependencies
We can see the nested dependencies with this rake task:
Terminal
$ | |
Nothing yet.
Extracting a Partial
Find the part of the view template that renders the comments using @article.comments.each. Cut the segment inside of the each block out to a partial:
1
| |
and in app/views/comments/_comment.html.erb:
1 2 3 4 5 6 7 | |
If you’re seeing the comments repeating over and over again after refreshing the show page, make sure you’ve deleted the each block that previously surrounded the portion you cut out.
Reevaluating Dependencies
Let’s examine those dependencies again:
Terminal
$ | |
Rails will now know that we rely on this partial. When it caches the whole template, it’ll cache each rendering of the partial individually. If any of the comments changes, its key will change making the old fragment/key obsolete. The whole page, which is dependent on this fragment, will also generate a different key.
Hit refresh, and you should see all posted comments.
